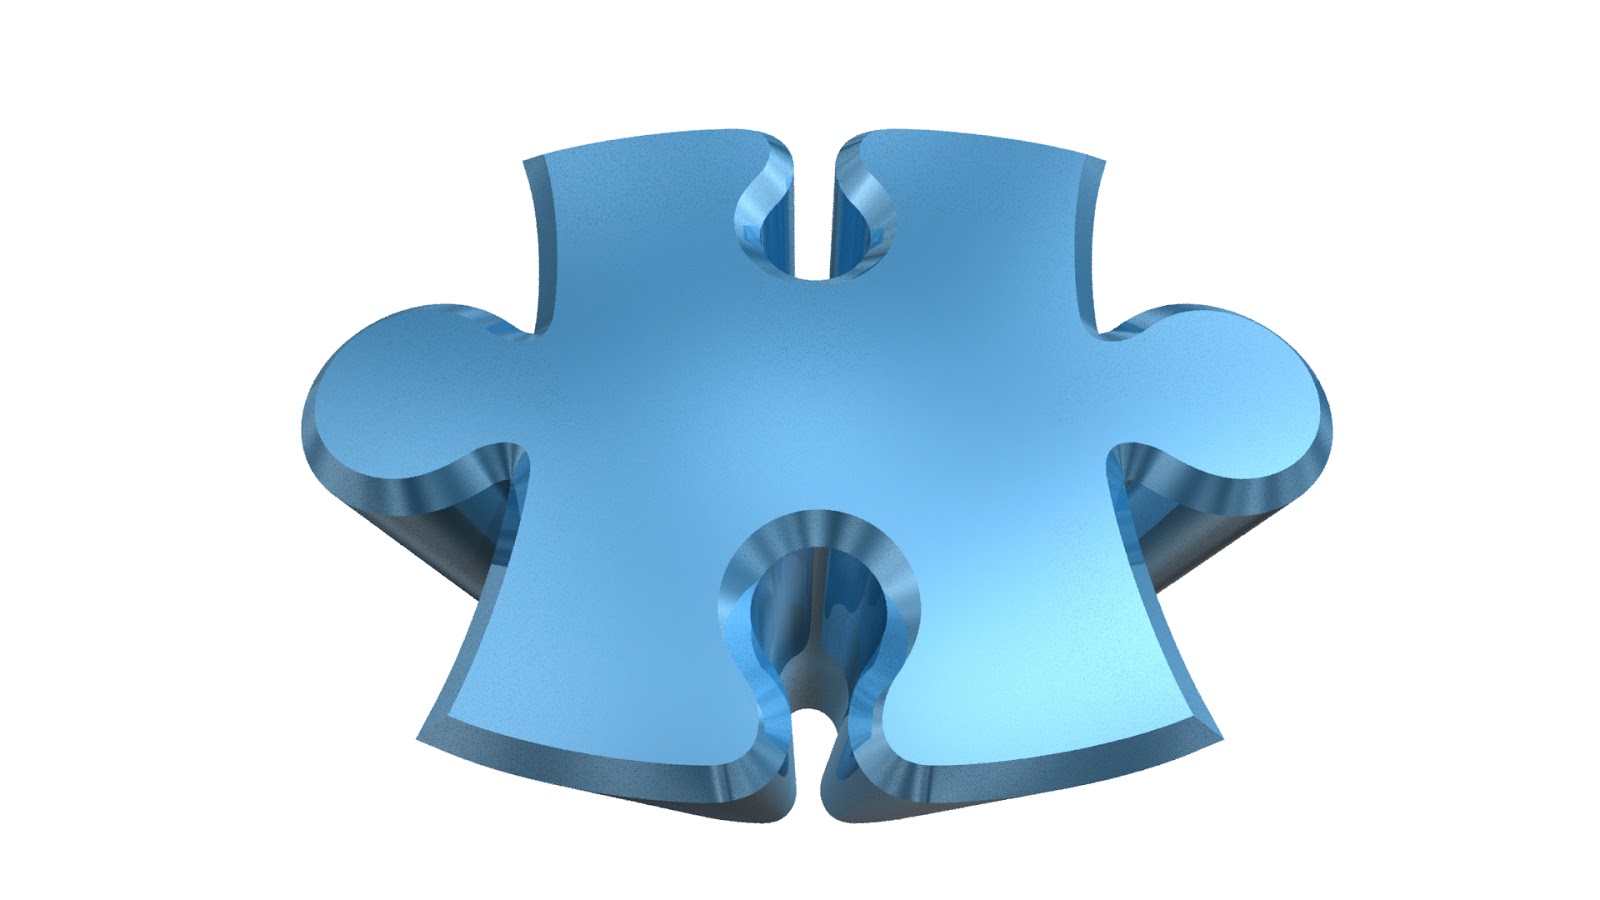
Perspective / CC Cylinder → 就是把平面捲成圓柱狀
那我們就來看看 可以做什麼吧~
箭頭動態
(示意有在動)
Pre-compose 起來加
Effects /
CC Cylinder /
Radius 224
Position X/30 Y/150 Z/0
Rotation X/-234 Y/12 Z/223
Light Intensity/143
Light Height/100
然後最初設定
Transition / Linear Wipe
無到有~ Transition Completion 87 → 0
*****************************************************************************************
彩帶 / Ribbon
Comp Size 1920 X 2000
Solid Size 2000 X 100
Rotation -10
Position 960,1240
看參考線就很明白要如何排列
就這樣複製 位移
要對的準 才接的起來
然後
Null
Position 960,1800
所有Solid 線條 都 Parent 給 Null
Null 設定
scale 100,0 → 100,100
Expression:Scale 處寫下
freq = 3;
decay = 5;
t = time - inPoint;
startVal = [100,0];
endVal = [100,100];
dur = 0.1;
if (t < dur){
linear(t,0,dur,startVal,endVal);
}else{
amp = (endVal - startVal)/dur;
w = freq*Math.PI*2;
endVal + amp*(Math.sin((t-dur)*w)/Math.exp(decay*(t-dur))/w);
}
// 參考 http://www.motionscript.com/articles/bounce-and-overshoot.html
感謝 Dan Ebberts
把Null 往下移 這樣Solid才不會出框
收走
Pre-compose
給個
Effects / CC Cylinder /
Radius / 75
Rotation Y / 75
Light Intensity / 205
Shading
Ambient /85 Diffuse /85 Specular /30 Roughness /0.5
Transform / Scale /55%
像彈簧般的動態
_______________________________
類似教學 https://www.youtube.com/watch?v=5A9Bh6-hfW4
_______________________________
彩帶還可以這樣做
看起來不順對吧~~
在Solid 加 Effects / Distort / Corner Pin 微調
然後 在 CC Cylinder 轉 角度 Rotation Y / 250 避開
然後利用 Corner Pin 變形
就變一般彩帶啦~
Try it!
************************************************************************
獎章 / medal
Solid 給各 Effects
Perspective / CC Cylinder
Radius / 60
Position X / 160
Rotation Y / 25
Rotation Z / 45
接下來就變形 位移
Scale / 55,30
Position / 650,670
給一個Null parent
就這樣排列成圈
在最上層 給一個 Solid
Effects / Generate / Circle
Radius 330
接著上色
然後上字
TRY IT
我不知道為何會使用這個英文 Metaball
但對我來說 這樣的狀態 就像一種黏著性
我是在日文網站看到類似這樣做的效果
那使用在球上面
就是
在動態物件上層 給個 Adjustment Layer
Effect / Noise&Grain /
Median
設定 Radius
記得 Operate On Alpha Channel 打勾
當然 Youtube 上搜尋 Metaball After Effects 有更多教學
Try it!
當年做的時候 是用土煉鋼法
一層Layer 一個Mask 給 Effect / Ramp
複製
改變Mask的點
就這樣延展成整個面
然後所有的Layer 的mask展開
改變共同節點的位置 設Key
最近看了一個教學
Low Poly Art в After Effects
https://www.youtube.com/watch?time_continue=154&v=UDtkw_GoUjA
才知道 有外掛可以輕輕鬆鬆做出來呀~
使用外掛 Mir
加上一盞燈
就OK啦~
算圖還比較快
網路上有很多可以把照片頗析成三角色塊的工具
https://www.behance.net/gallery/10543937/Image-Triangulator-App
http://alssndro.github.io/trianglify-background-generator/index.html
http://somestuff.ru/filter/HTML5/I
雖然有很多工具 但怎麼在AE裡方便使用
就只有等高手現世了~
Good Luck!
這個檔案 我用筆電算了八個多鐘頭 (用 Media Encoder Render 算的)註1.
因為我的網卡 NVIDIA GeForce GTX965M
不支援 Ray-traced 3D
就算是修改 raytracer_supported_cards.txt
也無用
這時候 Adobe 就叫你使用 CINEMA 4D 了
在這裡 我不是要教 CINEMA 4D
只是想記錄 如何開啟 CINEMA 4D
一般使用 Effects
用Layer 增加 Effects 即可
但這樣開啟 CINEWARE 是沒有用的 ORZ
要到 File / New / Maxon Cinema 4D File
儲存後 你就有一個C4D的檔案 開啟 C4D的軟體介面
開始使用吧~
當然你也可以直接 Import 一個 C4D的檔案
丟到 comp 中
就自己帶Effects / Cineware 了
如果網路上找到免費 C4D 的檔案 在AE無法開啟
可能裡頭 有用外掛做成的東西 ?
還是先開一個新的 Cineware
軟體打開了 再去開啟已有的檔案
就可以清楚 缺了甚麼外掛之類的東西囉~~
ButC
我還不會用........... C4D
註1.用after effects算圖只要 一個多鐘頭......
至於 Media Encoder Render 為何算了八個鐘頭 我也不了解...
如果需要特別的輸出設定,還是在AE裏頭算完 再讓 Media Encoder Render 轉檔出去吧~
如果是要找 shape layer 怎麼讓 Anchor Point 歸位到中心
try it!
###########################################
我一直以為 Anchor Point 是中心點 (以我為中心...)
對於它在字型的位置
總覺得頗奇怪
然後某年的某一天
這個點的位置跑掉了
倒底我改了甚麼 也不清楚
通常做的都是位移的動作
這個 Anchor Point 影響不大
需要的時候 就手動改一下了
所以我也不理會
最近 我搜尋了 Anchor Point after effect
才發現 有script 直接 點一下
可以到物件的 上下左右中心點
順便看了一眼 Paragraph
才發現
有數字...
把數字改成0
這個定位點
回來了...
就這麼簡單~~~
Good Luck!
ps.定位點居中的快捷鍵
按ctrl 然後點兩下 Pan Behine Tool

如果AE可以完成的 那麼就不要另外找外掛幫忙了~
試試看簡單的東西吧~
拼圖
先找出 Puzzle AI
在AE裡 轉成 shape layer
shape layer 設成 3D
然後 Comp 設成 Ray-traced 3D
在 Options 裡
Ray-tracing Quality : 3 (先設成 3 之後算圖 在設成 6)
Ray-tracing Quality : 1 ( 看原尺寸的圖比較清楚 )
Ray-tracing Quality : 2
Ray-tracing Quality : 3
Ray-tracing Quality : 6
Ray-tracing Quality : 20
可以做成 3D的Layer 多了選項
Geometry Options [幾何形狀選項]
Bevel Style
Bevel Depth
Hole Bevel Depth
Extrusion Depth
Material Options [材質選項]
Casts Shadows ( Light 的燈光要打開 On )
Light Transmission
Accepts Shadows ( 物件本體 受不受陰影的影響 )
Accepts Lights
Appears in Reflection
Ambient ( 有 ambient light 才有會有差異 )
Diffuse
Specular Intensity
Specular Shininess
Metal
Reflection Intensity
Reflection Sharpness
Reflection Rolloff
Transparency
Transparency Rolloff ( Transparency 0 時 無作用 )
Index of Refraction ( Transparency 0 時 無作用 )
Texture 設成 Environment Layer
Appears in Refections / Only
Puzzle 拼圖
File Download by after effects cc2015